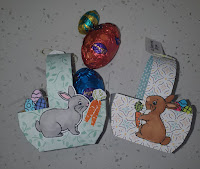
The basket is easy to construct which is what I like.
I made up a template to help with the score lines and where to cut.
Materials
Basket DSP paper 6" x6"
Handle DSP paper 1"x7"

Stapler
Scapes of basic white card stock for stamping
Measurements
Score base 1-7/8" and 4-1/8"
Rotate 90 degrees
Score 1-7/8" and 4-1/8"
Now you need to partialy score to the first score line at 5/8", 1-1/4", 4-3/4", 5-3/8" also mark with a pencil 3"
Turn 180 degrees and repeat
Draw Diagonal lines from the 3" markto intersecting lines to form a triangle.
Now cut along the 3 score lines to the first score line and remove the triangle.
Fold and burnish all score lines.
Bring side strips together to form the side of the basket using the triangle as a placement guide glue into place repeat on the other side
Burnish your handle to give a curved effect now glue to the inside of the basket I also stapled together for extra strength.
Stamp your Easter Bunny, carrots and Easter eggs from the stamp Set colour in and glue to basket.
I also added a tag with a sentiment and tied it to the handle with bakers twine
All finished.
You can watch my video by following the link below

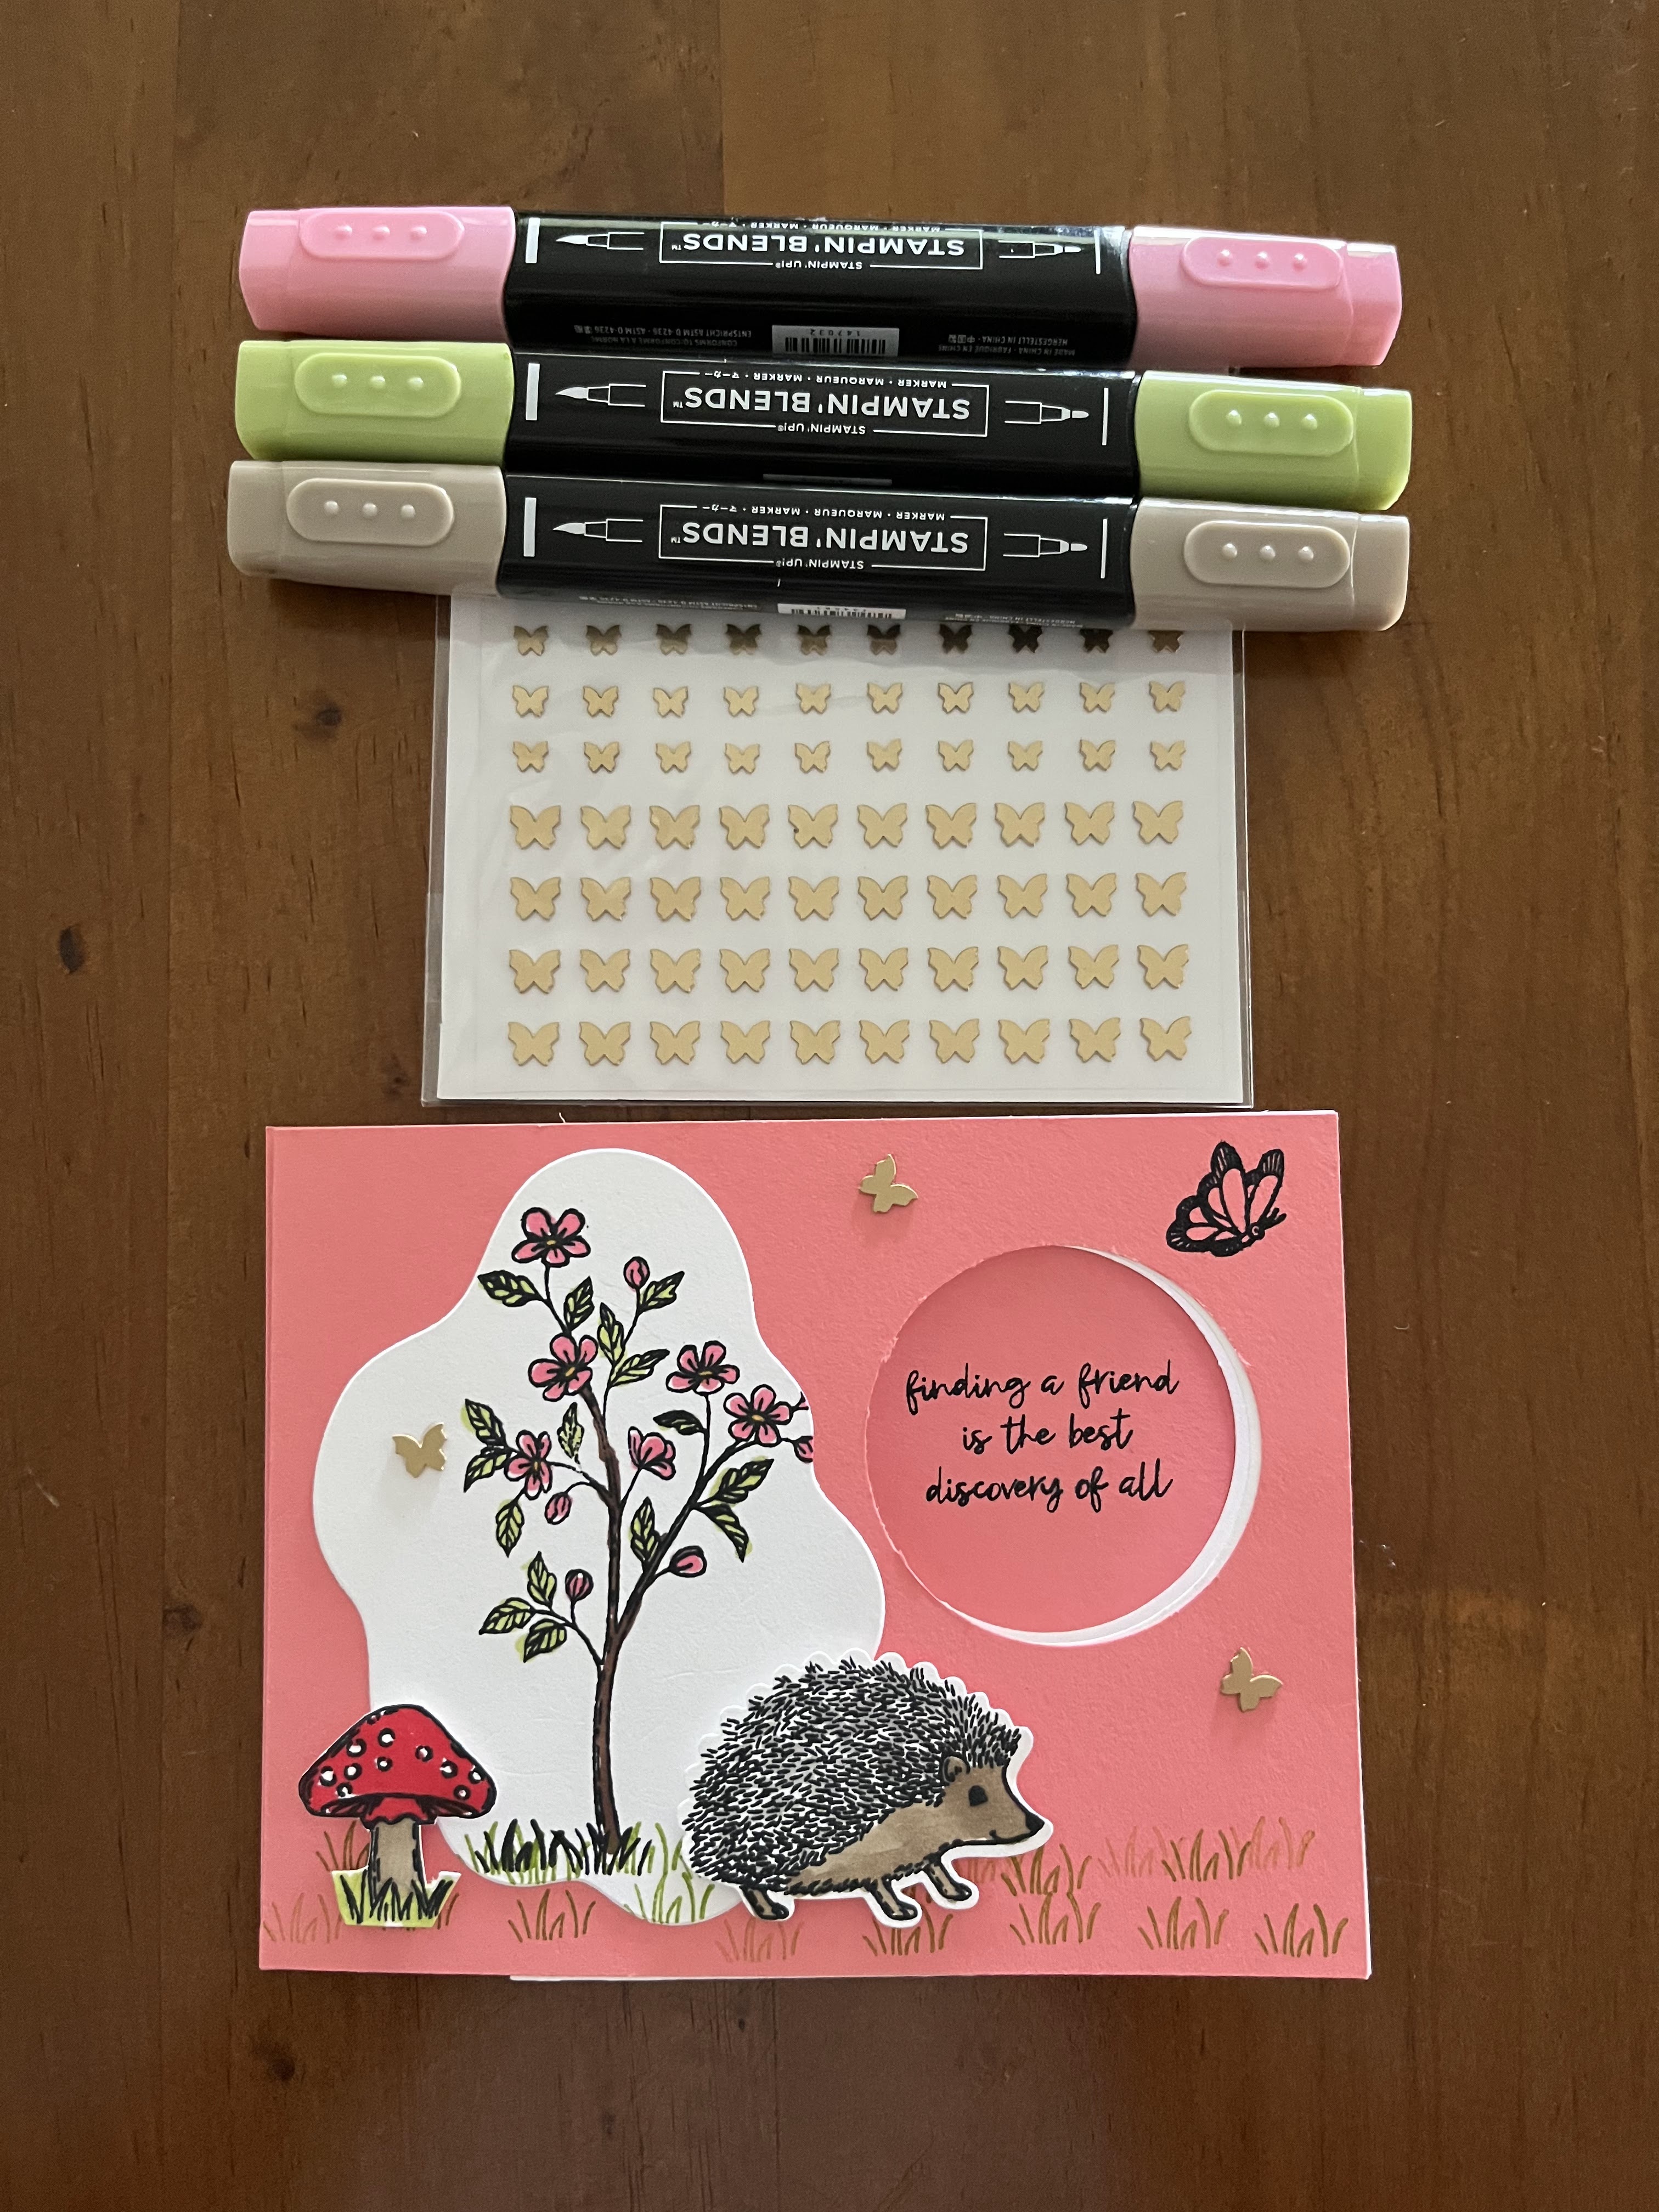
I cased this card from the StampinUp! Jan to May Mini Catty I added a pop up inside the card for a bit of fun.
Materials
Balmy Blue card stock 21cm x 10.5cm folded in half and burnished
I cut the middle section out of the DSP Rain or Shine 10cm x 14.3cm glued to the front of the card.
Now a piece of basic white using the "Stitched Rectangles Dies" the largest and the 3rd largest to make the frame and glue to the DSP.
For the sentiment I used the "Stylish Shapes Dies"
I stamped the bunnies onto basic white card stock, you can colour as you like, I added a carrot and a butterfly as well as the garland to decorate the bunny neck.
To jazz it up I added a little pop up inside the card with Happy Easter Sentiment

Add glue to two sides and place in the fold of the card and close the card and hold to let the glue dry, Once dry open the card and decorate the front side of the mechanism with Happy Easter and Easter eggs, I also glue a bunny Rabbit to the back wall above the pop up.
Hope that makes sense watch the video it will help with the explaination.
Below are the links to shop for the stamp set and punch. OR YOU CAN JOIN MY TEAM


JOIN MY TEAM