Tuesday, 22 February 2022

Hello Ladybug bundle Stampin'Up!

 Inspiration from the mini catalogue using  Hello ladybug Bundle


Hello everybody, its been a tuff day trying to use technology, I have made so many mistakes but I kept triying and here are my new cards for this week.

My first card from page 20 in the mini catalogue.


A very easy card only using a few products, I love the symplicity.

Just Jade for the base card 21cm x 14.9cm first layer matching in color 2020 to 2022 DSP cut to 10cm x 14.5cm.

I stamped three daisy flowers twice to give a fuller look then fussy cut them out, glue to the right side of the first layer.

I Stamped the body of the ladybug in memento black and punched out, stamped the wings in real red and memento black and then punched out aswell.

Added the wings with dimensionals to the body and glued to the front of the card

Stamped my sentiment in real red added dimensionals.


In the middle I used the little 3 flower stamp in each corner using daffodil delight ink added flirty flamingo centres and a sentiment in the middle. 

I added Real Red Rhidestones Gems to add a nice sparkle.

Any problems watch my video link below.


Card Two


The base card is basic white 21cm x 14.9cm folded in half.

The first layer is all so basic white 9.5cm x 13.9cm using the large daisy stamp stamp about 6 times then stamped off on the rest of the daisy added a centre to the flower in daffodil delight, add dimensionals and fix to the front of your card.

Using basic white strip about 3cm x 13.9cm stamp three Ladybugs using memento black and real red. Glue to your back ground layer'

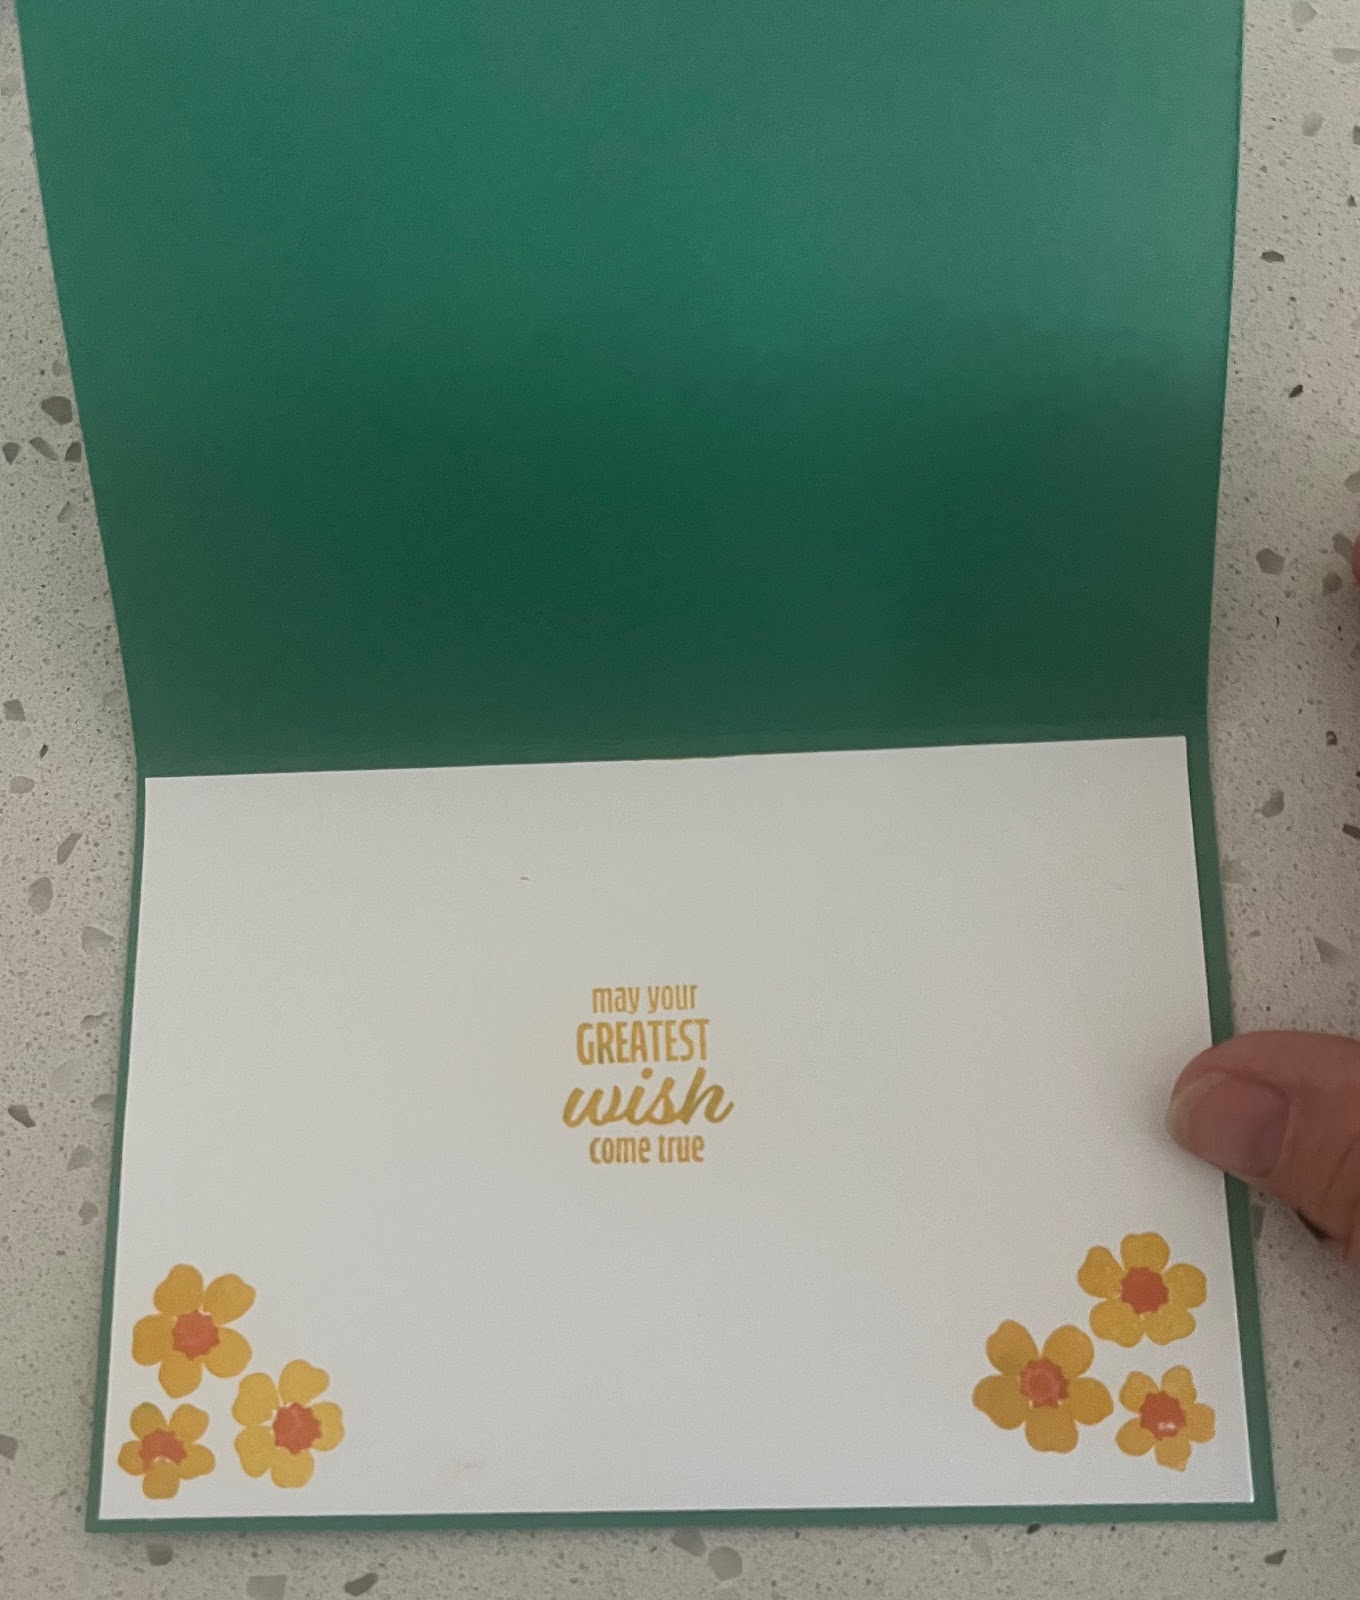
The sentiment was stamped in Just Jade on Jade Jade card stock then die cutted using a die from "Pretty Pillowbox Dies"added dimensionals attached to front of the card.

Remember to use Real Red Rhidestones Gems to add some sparkle. In the middle I stamped a few small flowers and dots.
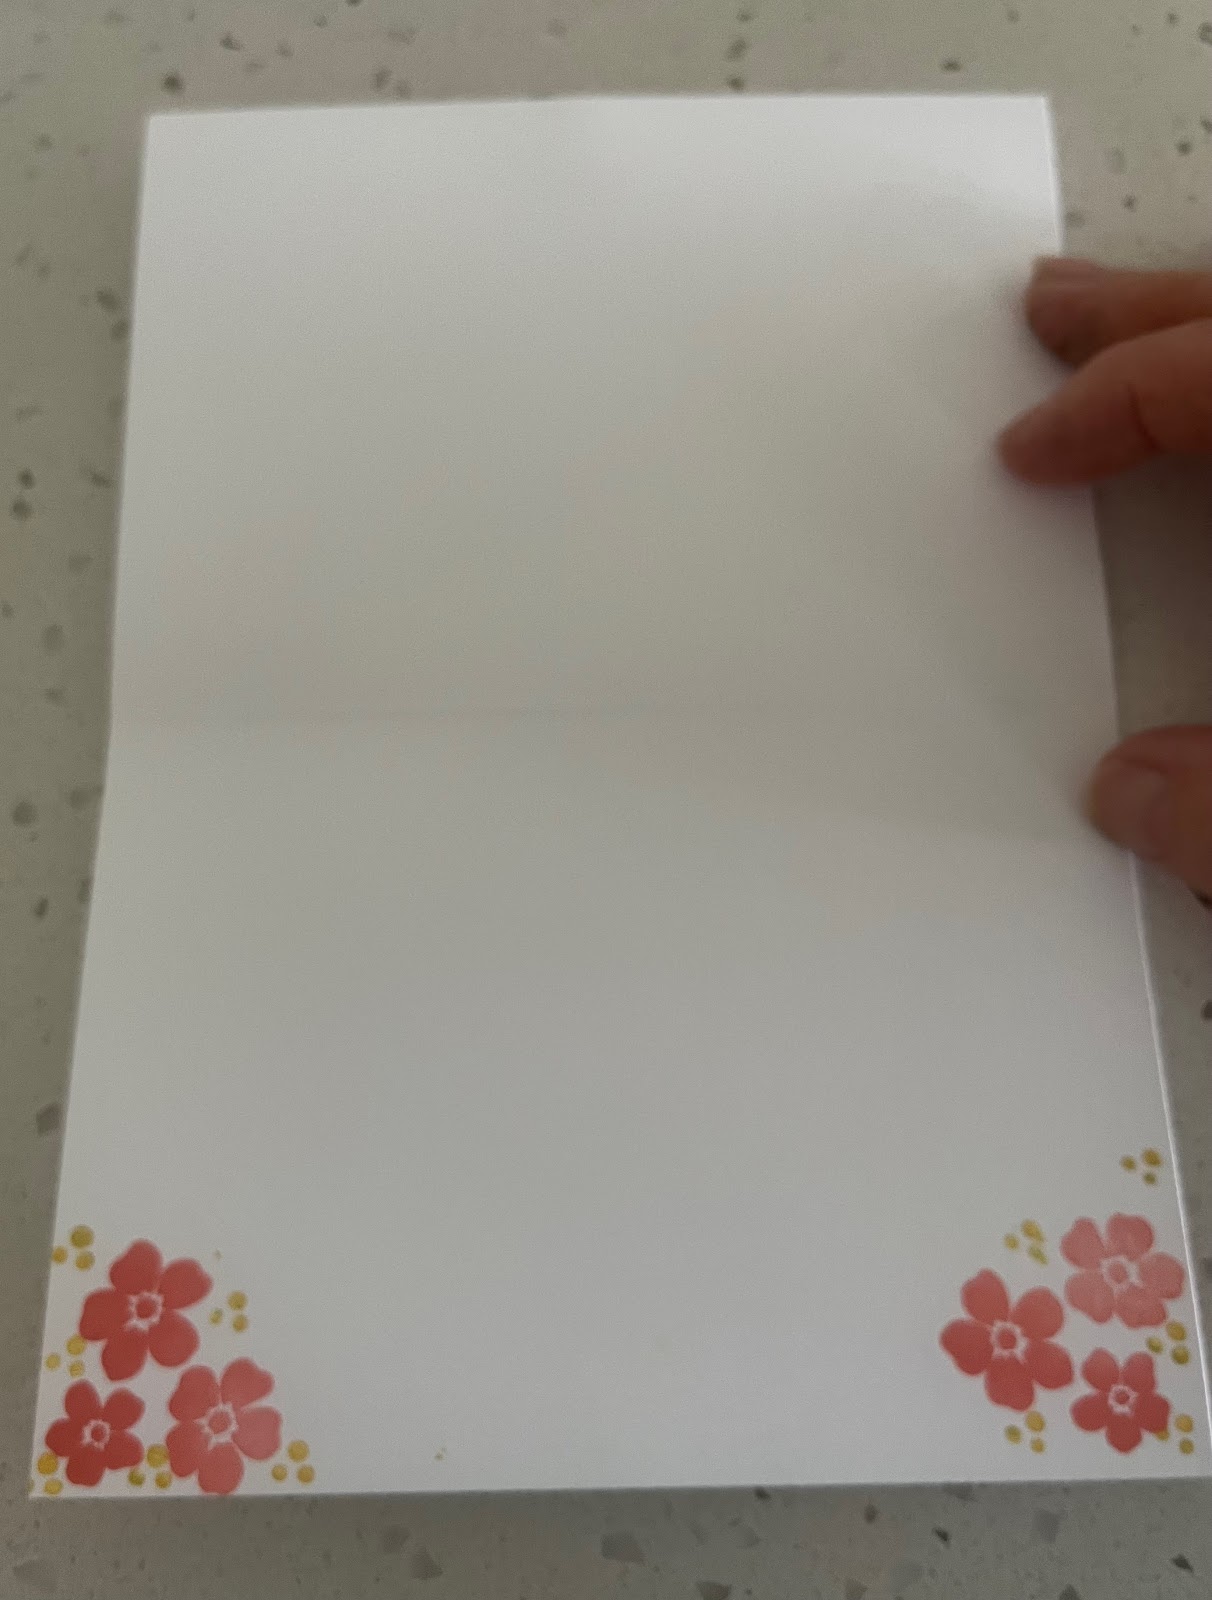

My online shop link 

Video Link


Tuesday, 15 February 2022

Happy Hedgehogs Stampin'Up!

 This Weeks cased Cards are from the Jan to June Mini Catalogue


I decided to case two cards from the mini catalogue today, first card is a simple stamping card.

This card is on page 64 not my best effort. Stampin'Up! designed the card with a plaid background using our water painters, I gave it ago but was not happy with my interpretation of the card, so I changed the base card to Melon Mambo.

Stamped my image on basic white and the sentiment on the Melon Mambo card stock.

Add some white bakers twine on the sentiment.

I was happier with the outcome. 

What do you think?


Card Two is from page 79.


This card I love love love.

The base card is basic gray 21cmx 14.9cm folded in half.

I used the free SALE a-bration! paper Simply marvelous, the lighter gray. 10.5cm x 13cm for the next layer.

Second layer was the free Sunshine & Rainbows paper,  8cm x 9cm.

Third layer is basic white stamped with the sentiment 6cm x 6cm

Now the next layer Granny Apple Green is 10.5cm x 4cm I stamped with grass and used a sponge dauber with Granny Apple Greeen Ink to highlight the edges including the mole hills, do not glue as yet.

Punch out 4 Hedgehog backs and highlight the edges with granny apple green ink using the sponge dauber as well.

On a spare scape of basic white stamp 3 mushrooms, the bird, butterfly, hedgehog and colour as desired.

Punch the Hedgehog out and fussy cut the rest.

Glue the hills to the Granny Apple Green strip and trim the excess off.

Now you can glue the Granny apple green strip to your card front.

Add your hedgehog, bird, butterfly and mushrooms.

Inside the card I added a basic white card and stamped with the bird and grass blades


Hope you liked making this card as much as I did.

If you would like to buy this bundle follow the link below


Follow the link to my live demonstration on Youtube


Tuesday, 8 February 2022

Cactus Cuties Stampin' Up!


Today I cased a card from the Jan to June Mini Catty page 66 using the Cactus Cuties stamp set. Using blushing bride card base dsp 21/2" circle punch in the back ground stamped onto the circle. On a scrape piece of classic white card stock I stamped and punched the parts to the large cactus and glued together'
Added dimensionals adheard to the card front,  added some bling and the sentiment. Easy peasey

If you would like to buy the bundle follow the link to my online shop

Easter Bunny Basket and Card

  Todays Facebook Live event  was my last Easter Card and Basket for this year. The basket is easy to construct which is what I like. I made...