Wednesday, 13 April 2022

Slider Cards Stampin'Up!


I love this fancy fold, I have made five different examples. 

I have done a youtube video to help you with putting the card together. Link below

Remember to follow my blog and subscribe to my you tube channel while you are there , your interest helps me a lot.

Supplies  for the "Count on me" card

Front panel is Daffodil Delight card stock cut to 41/4" x 81/4" scored at 5 1/2"

Back panel is Daffodil Delight card stock cut to 4 1/4" x 5 3/4" scored at 5 1/2"

Inside panel is basic white cut at 4 1/4"x 8 1/2" scored at 4 1/4"

Basic white card stock 3 1/2" x 4 1/2" 

Garden Green card stock 3 1/2" x 4 1/2"

2" circle punch

Layering Diorama Dies

Count on Me Stamp Set from Stampin' Up!

Your choice of blender pens to colour in the Kangaroo and Koala

bakers twine

Tear and Tape Adhesive

Black ink

Method

Cut and score all 3 pieces as per supplies instructions

Cut basic white with the 3rd smallest diorama Die Cut

Cut the Garden Green card stock with the 4th smallest diorama die cut.

With your punch lined up the top and side edge of the front panel, then punch the 2" circle.

Now fold the middle panel in half and line the basic white card with the front panel and trace the inside 

of the circle.

Take out the white Inside panel and line up your punch with the traced circle and punch out.

Next step is to trace the punched circle again on the basic white back panel and punch, now you should have three punch circles.

With the Daffodil Delight back panel fold the scored edge up and add tear and tape which just fits this small edge.

Attach the back panel of the basic white to this tiny folded edge on the Daffodil Delight back panel make sure it meets up perfectly.

On the small basic white diorama piece stamp your Kangaroo and sentiment "I've got your back" colour in as you like, add a small bow in bakers twine.

Glue to the garden green diorama piece and glue to the front panel.

Before you attach your front panel please stamp your sentiment through your cirles onto the back daffodil delight panel "Through thick and thin, COUNT ME IN"

On your front daffodil delight panel place in line with middle basic white panel and tuck the scored section between the middle and back, as you open the card it will slide into place and trace with leadpencil the circle position and pull back out. Now turn over and stamp on the right side passed your score line in the traced circle stamp your Koalas and colour in.

Final step applie glue to the middle panel and attach the front panel lining up the edges and circle making sure you tuck in your scored panel between the back and middle card stock.

Add bling if desired, this method is the same for all my different designs


I used "Nuts about you" stamp set on crumb cake card stock and basic white                                            


On this card I used Flirty Flamingo card stock and basic white in the middle. The stamp set was "Happy Hedgehogs"


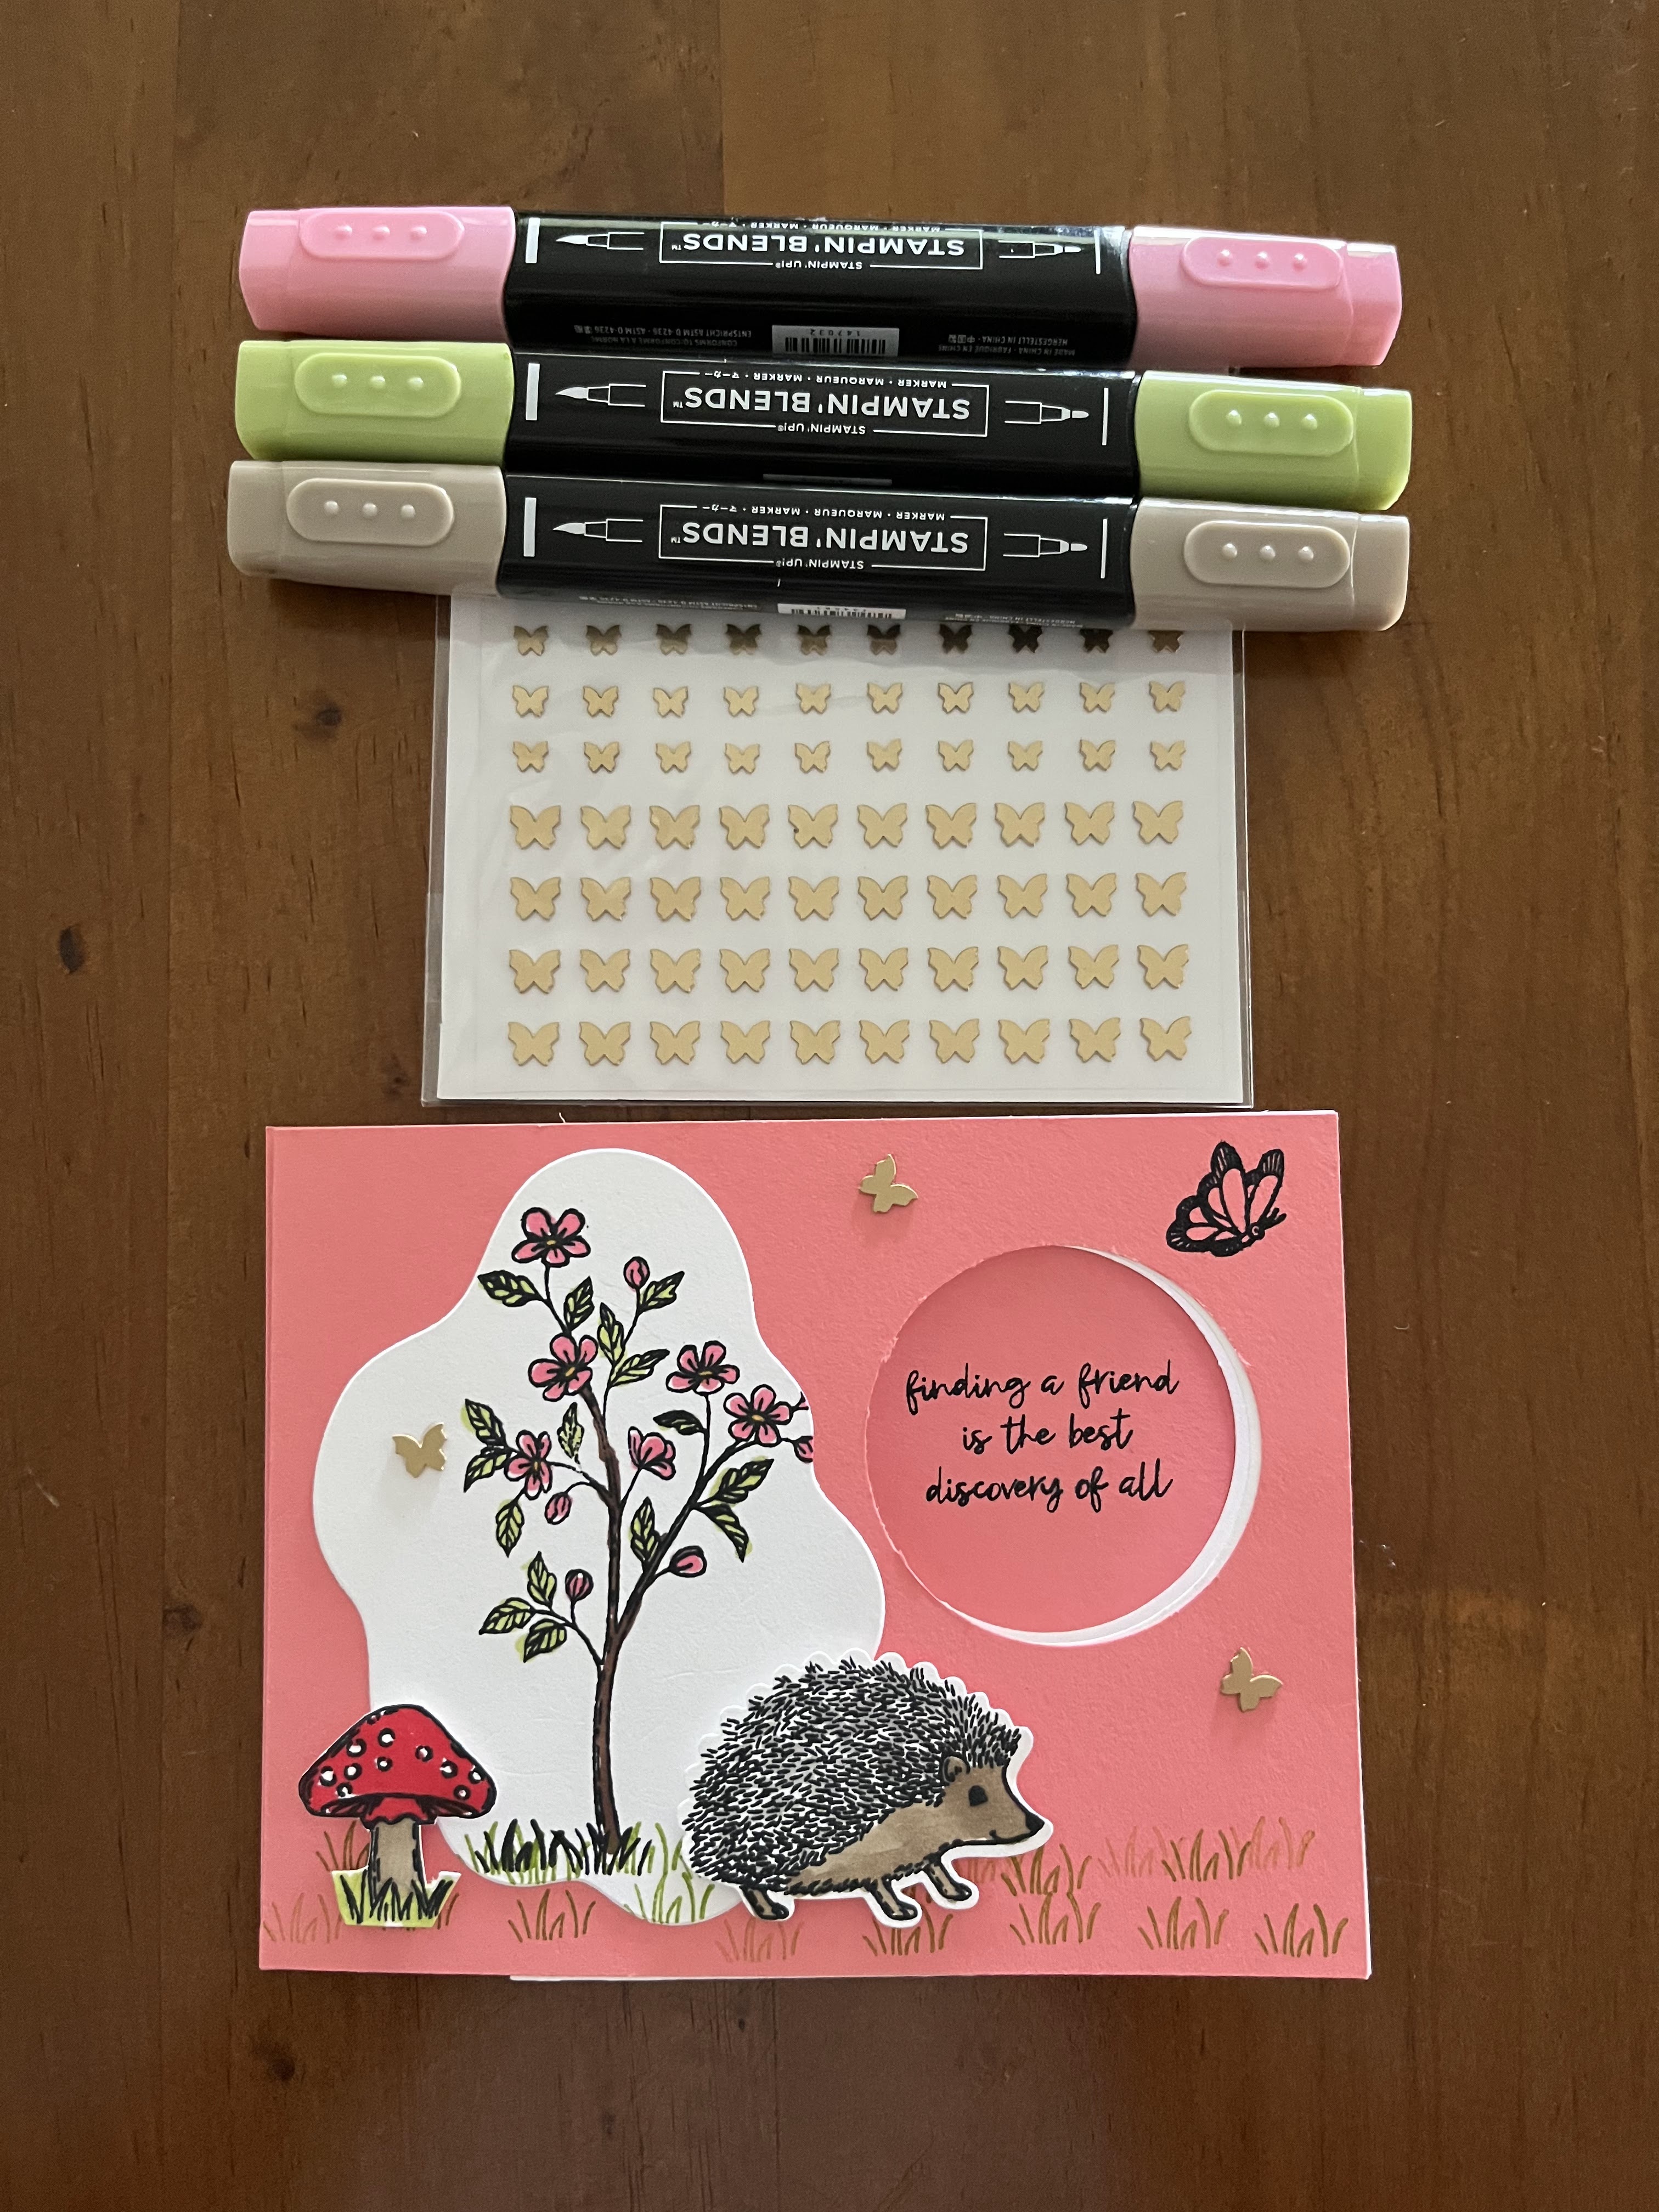
This card is all basic white, I used "Shaded Summer" Stampset

I flick my blender pen in its cap to get the speckled look.

The bling is Brass butterflies.


YouTube link  https://youtu.be/Zz_DrCt9KIM

Facebook link https://www.facebook.com/Allymcmenamin

Online shop link https://www.stampinup.com.au?demoid=4025195

Join my team link https://www.stampinup.com.au/join?demoid=4025195

Tuesday, 12 April 2022

Demonstrator Training Program Blog Hop


Thank you for joining us for our Stampin' Up!® Demonstrator Training Program Monthly Blog Hop! 
We are so happy that you could join us today for this blog hop for ideas and creative inspiration. 
We are a group of Stampin' Up!® Demonstrators from around the world that are taking part
 in training that is helping us to build a successful Stampin' Up!® business and reach some
 goals we have set. We really appreciate your support.

You may be starting here or have come from another blog - either way you can find the link list 
at the bottom of this post so that you can see every blog post and idea today.


Today for my customers thank you cards for April 2022, I am using  "Flowering Rain Boots Stampin'Up! 
Stamp Set"
I have also done a live video on "YouTube" link below

A very quick summary, base card is Daffodil Delight card 21xm x 14.8cm folded in half, first layer
 is Soft Succulent 
cut at 10cm x 14.3cm next the basic white layer is 9.5cm x 13.8cm I stamped the back ground using 
3rd generation stamping so it is a soft back ground in crumb cake ink but I did try other colours.
I stamped my images and die cut them out and arranged them on my card, tring different views.
Stamped my sentiment on two cards over the back ground, the next two card were stamped on scaps 
of card stock and dimentionals added to give them a lift.
I hope you like my card see you next month


Thanks so much for stopping by today!
As mentioned at the top, this is a blog hop so make sure you 'hop' around to 
all the amazing  projects on this hop! Click on the links below to visit them.

Wednesday, 6 April 2022

Amazing Silhouettes Bundle

 My Focus this week is simple stamping as  I'm tring to push my self to try something new. 

Amazing Silhouettes is a great stamp set for back grounds, hope you like my designs this week.


These cards are very simple to make, the base card is basic white cut at 21cmx14.8cm and folded in half.

The next layer is basic black cut to 10cmx14.3cm and glued to the front panel of basic white.

Now your  3rd layer is basic white cut 9.5cm x 13.8cm I stamped it with the butterfly stamp in "Fresh Freesia" ink in a random way covering the whole card, now glue this panel to the basic black on the card front.

Die cut the words "you are amazing" in black and Fresh Freesia card stock glue to the middle of the card front.

I added "Pastel Pearls" order no. 154571 , which is being carried over into the new catty, how exciting.


I used the same method with the other two designs using  "Evening Evergreen" Ink and "Soft Succulent" Ink  bling was "Faux Sea glass shapes and Pearl Basic Jewels"

I coloured the the pearls with my "Evening Evergreem" blender pen.

below are the links to my Video and online store.

Store;

Amazing Silhouettes Bundle


thanks for reading my blog please leave me a message on your thoughts as it can helps me to improve my blog


Easter Bunny Basket and Card

  Todays Facebook Live event  was my last Easter Card and Basket for this year. The basket is easy to construct which is what I like. I made...